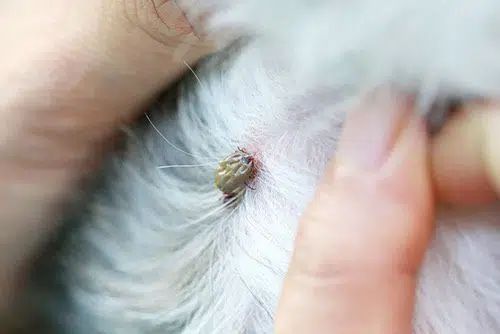
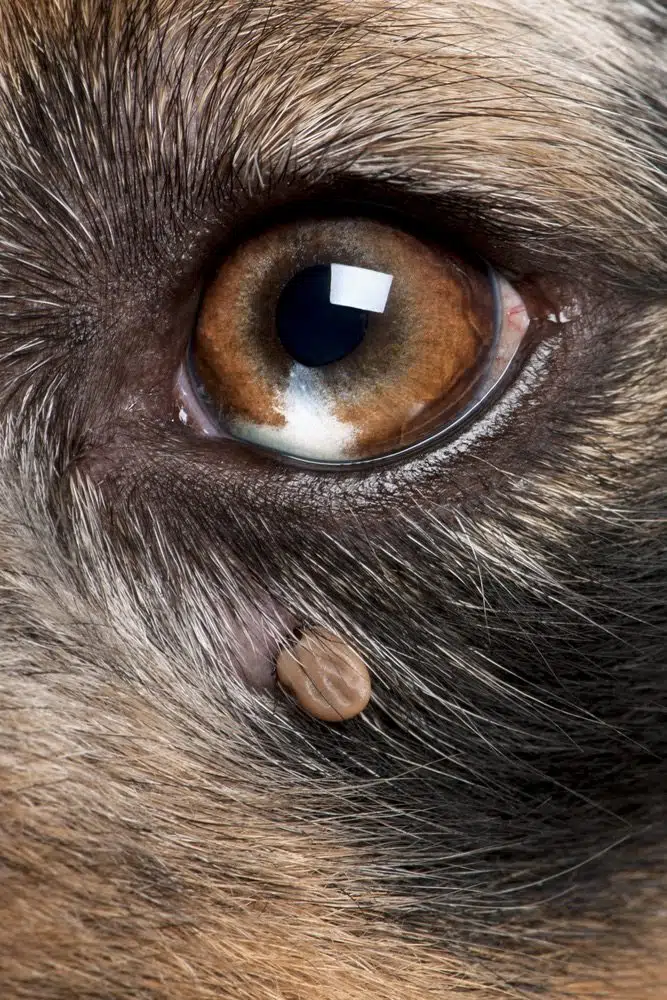
If you’ve worked in clinical practice in Australia, particularly those vets among you situated along the country’s eastern border, there’s a high likelihood you’ve encountered Ixodes holocyclus, the infamous Paralysis Tick. The tiny parasite that’s the bane of many vets’ existence!
We’ve all faced challenging tick cases in the past – from missed diagnoses, tricky critical patients requiring intensive care or ventilation, and those especially sticky situations where even the treatment itself can at times add to the problem list.
That’s why we’ve put together this handy step-by-step guide to managing tick paralysis. From diagnosis and clinical signs through to treatment and aftercare, we’ll tick off each step over the next 5 articles over the coming weeks to ensure you’re prepared and ready to conquer your next tick case with confidence.
Tick Paralysis Clinical Signs
- Ascending paralysis
- Respiratory distress/tachypnea
- Changes in phonation
- Regurgitation
The early signs are often subtle and may occur singly and may go unnoticed by both owner and veterinary professional without a professional assessment. It’s vital that any of the following clinical signs could be reasonable suspicion to consider a tick on your list of differentials:
- Vomiting
- Mild ataxia
- Unilateral lameness
- General weakness
- Inappetence
- Tachypnea
Clinical signs can then be graded on severity, which will aid triage. Grading is achieved by assigning a numerical score to the paralysis, and a letter score to the degree of respiratory compromise. Animals with severe respiratory distress or cyanosis (Respiratory Score D) should be taken to the treatment room and immediately be given fly-by oxygen and administered appropriate sedation if necessary.
Tick Paralysis Scoring
Gait Score
1. Mild ataxia or paresis
2. Able to stand/sit unaided, but cannot walk
3. Unable to stand, can maintain sternal recumbency
4. Unable to maintain sternal recumbency
Respiratory Score
A. No clinical respiratory compromise
B. Mild respiratory compromise – tachypnoeic (RR > 30)
C. Moderate respiratory compromise (increased effort, gagging/retching)
D. Severe respiratory compromise (dyspnoea and cyanosis)
On review of over 2000 feline cases of tick paralysis, 90% of ticks were found from the shoulders forwards.
Dr Ellie Leister, Animal Emergency Australia, 2018
Tick Paralysis Diagnostics
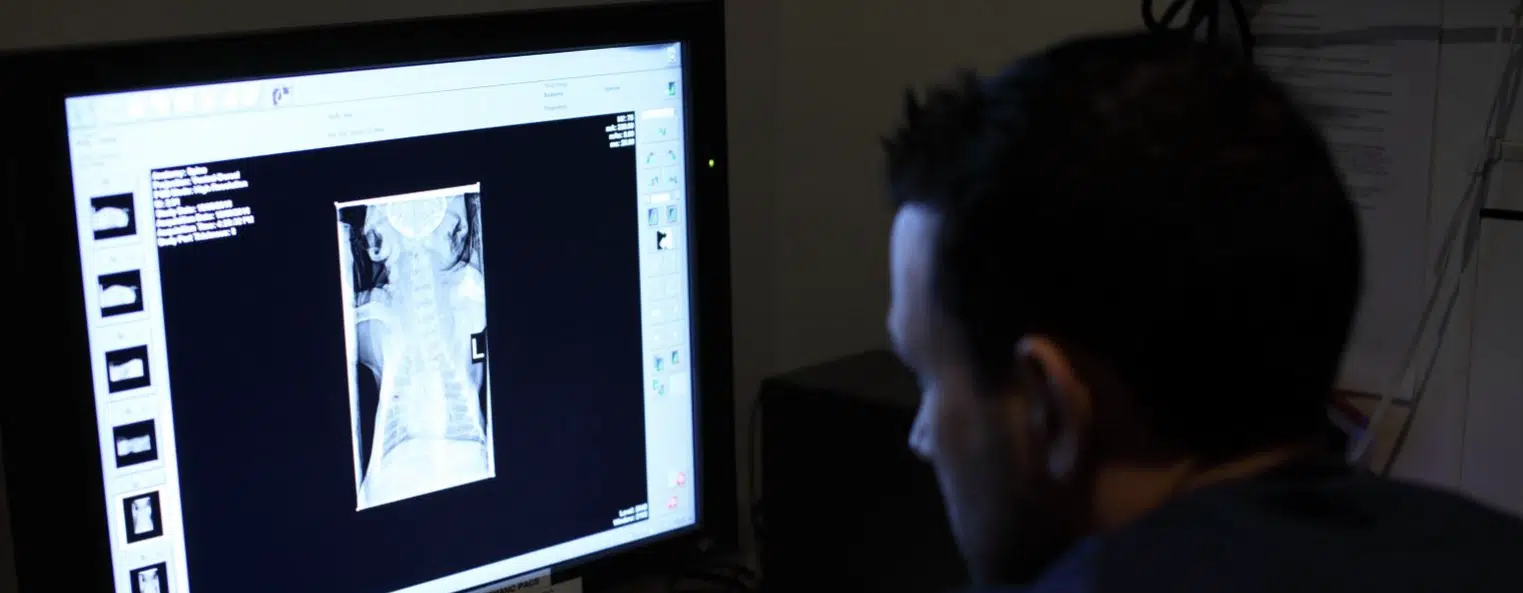
1. Thoracic Radiographs
Aspiration pneumonia should be ruled out and is of concern in any patient with breathing difficulty, as Dr Gerardo Poli states that approximately 80% of patients presenting with tick paralysis have some degree of aspiration pneumonia. A 3-view thoracic radiograph series should be performed. The right middle lung lobe is the typical location for aspiration with an animal in sternal recumbency, though this can vary depending on if the animal was laterally recumbent.
2. Blood Gas
Venous sampling is recommended on arrival, which allows for interpretation of PCO2 (a measure of the patient’s ability to ventilate). Though an arterial sample is ideal, this adds a lot of stress and time to a patient that can’t surmount a stress response and may require less handling. If general anaesthesia or heavy sedation is required, then an arterial sample can be attempted. PaO2 and PaCO2 can be monitored and the need for oxygen supplementation, different sedation requirements or mechanical ventilation assessed.
PaO2 <60mmHg indicates severe hypoxemia requiring supplementation vs mechanical ventilation. A reduction in PaO2 can also indicate deterioration in lung function too (eg: aspiration pneumonia) and although this cannot be interpreted from a venous sample, an SPO2 of below 95% can be indicative of primary lung disease. Additionally, PaCO2 >60mmHg suggests inadequate ventilation, most likely from respiratory paralysis and mechanical ventilation is required. Be sure to also consider sedation if associated with excitement/stress.
3. Electrolytes
4. PCV/TS
Although a simple test that may be overlooked, performing a PCV/TS can be particularly useful in certain tick patients. This is often within normal range on presentation in most cases, though can be a useful indicator of dehydration if substantial vomiting/regurgitation has occurred. This must also be interpreted in combination with a thorough clinical exam, as dehydration is a physical examination finding and should not be made solely based on PCV/TS.
5. Entire Body Clipping
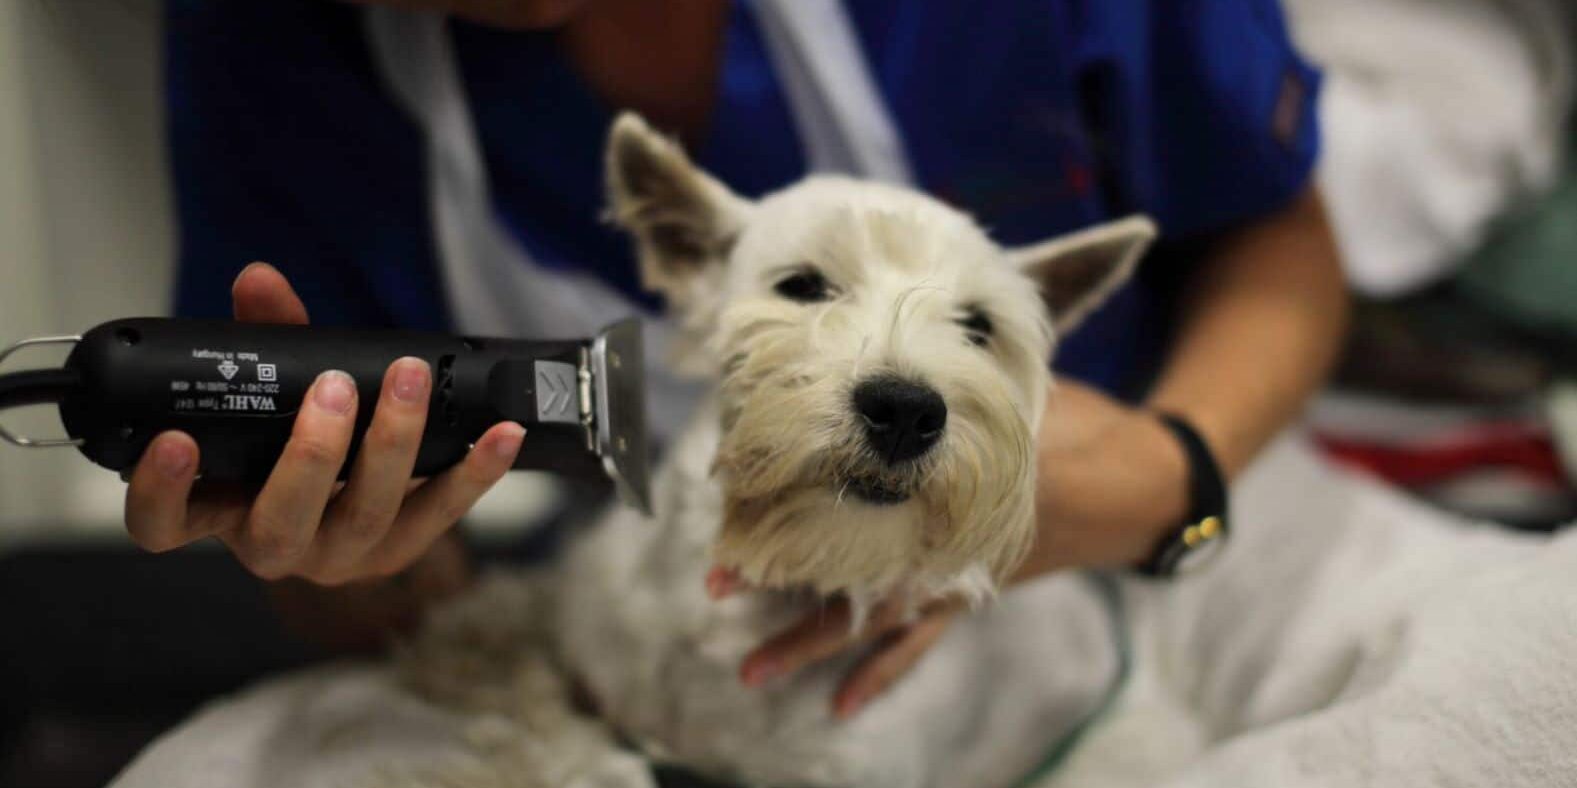
This is recommended highly in all cases of tick paralysis. In a recent study, 9% of cats with tick paralysis had a second tick identified. To prevent the continuing exposure to tick venom and ensuing paralysis requires removal of all ticks, it is imperative to perform a full clip. Naturally this can be highly stressful for patients already affected by tick paralysis, so perform under sedation (mainly for dogs), and general anaesthesia (for all cats) to reduce stress and control respiration.
One of the most common sites of missed ticks in patients that have been clipped is around the face. This means that “lion clips” (where hair is left around the face and head) should be avoided if possible. Despite performing a thorough tick clip, it is vital to repeat tick searches every 8 hours, as ticks that are still attached will grow in size and become easier to locate.
Now that we’ve got the clinical signs and diagnostics under control, take the time to explore our next article where we’ll dive into the most important part of the tick paralysis patient: treatment. We’ll also discuss the key points surrounding the most important component of treatment, TAS (tick antiserum), and how to dose and administer TAS appropriately for each patient.
Want to explore our completely free full Tick Paralysis Protocol that you can print off and quickly access in your clinic? Or maybe tune into our AEA Tick Panel Roadshow video? Sign up to VetAPedia and access 100+ clinical resources to enhance your emergency skills.


